Mycopunk Enemies and Bosses: Weak Points and Counters
Shoot the weapon, not the body. Disarmed enemies pick up dropped guns, so either destroy the dropped weapon or kill the carrier before it re-arms. Armoured shells on Amalgamations and Abominations must be broken before the core takes real damage, and cryo freezes gun parts so they stop firing.
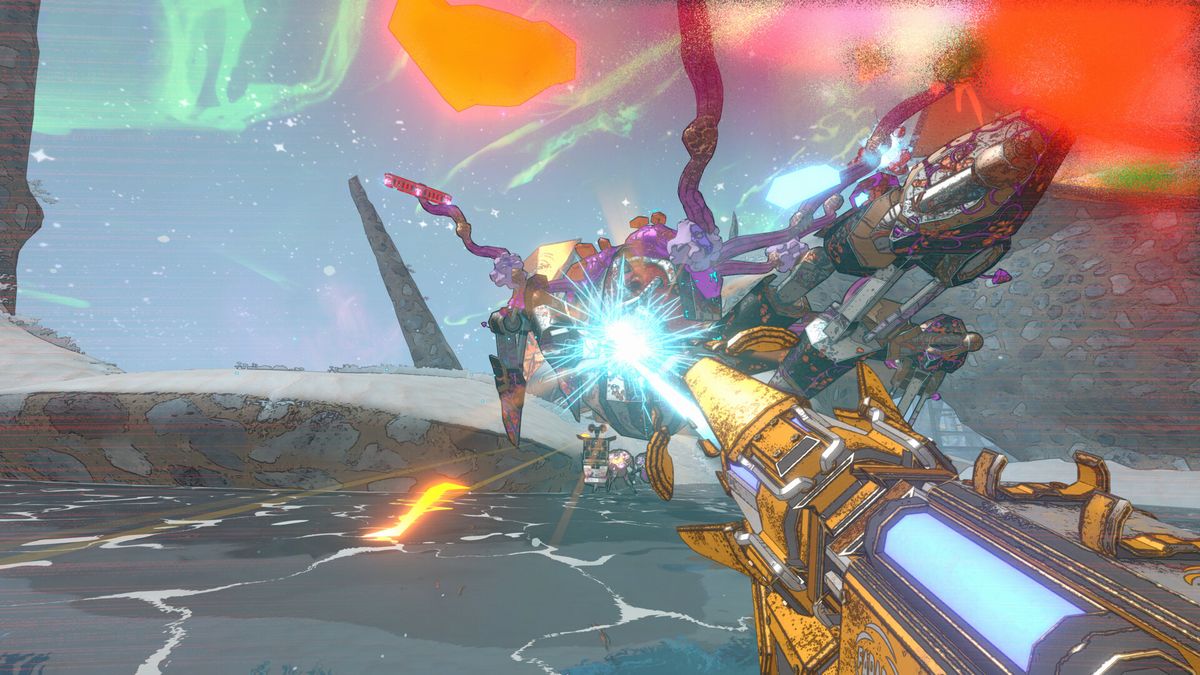
Mycopunk's enemies are not a monster list, they are a modular organism. Guns, shields, legs and explosive cores are separate parts, and the game's own description says the quiet part loudly: shoot a weapon off an enemy and another enemy will pick it up. Once you internalise that, every fight becomes a question of what to disable rather than what to kill.
The core rule: disable, then kill
Every enemy has a body and attachments. Attachments are usually the dangerous part:
- Weapons can be shot off. They then drop on the ground and another enemy can grab them, so a disarmed enemy is only safe if you destroy the weapon or kill the carrier quickly.
- Shields on the bigger enemies have to be broken before the core takes meaningful damage.
- Legs matter on the Amalgamation-class enemies: fewer legs means shells are exposed and easier to hit, which is exactly what the 1.0 patch changed.
- Explosive cores (the overclocked variants) cook off and hurt everything nearby, including other enemies.
That gives you a priority order that holds at every threat level: take the gun, then the shield, then the core. A crew that shoots bodies first spends twice as long on every wave.
The regulars
Missilehead. Fires missile shells from arrays. In 1.0 the developers fixed a bug where a Missilehead left alive long enough would fire all four shells at once, slowed its attack rate and reduced its damage. It is still the enemy that punishes standing in the open, so break the array before you trade shots.
Optical Jammer. The screen-obscuring support enemy. 1.0 reduced its health and made them less abundant because they were distorting fights too much. Kill them first when a wave feels unreadable — the jammer is usually why you cannot see the thing killing you.
Autocannon. Fixed fire support; 1.0 lowered its rate of fire. They do not chase you, so break line of sight and approach from another angle instead of duelling it.
Devastator. Its gravity surge field pulls and staggers, and 1.0 shrank that field. Treat the field as terrain: it decides where you can stand, and it is at its most dangerous when combined with a jammer.
Hornets. Fast, small, and freezeable. Killing one with a melee attack is its own achievement, which tells you everything about how close they get.
Explosive barrel enemies and grenade spewers. Barrel variants respect death protection near the edge of their blast radius since 1.0, so the edge of the explosion is survivable. Grenade spewers stop throwing while frozen.
The big fights
Amalgamation. The multi-legged shelled enemy. Shells cover the core until they are broken, and the legs matter for hit availability. It is farmed deliberately: Amalgamation Hunt repeat completions always drop a Uniform skin, and the chance of Amalgamation exotics from repeat rewards went up in 1.0.
Abomination. The modular boss-class enemy you meet early in the tutorial and then repeatedly later. Its shields and weapons can be shot out, which is the whole fight — a group that keeps shooting the body wonders why it takes so long, while a group that strips the arms kills it in a fraction of the time. Getting the final hit on one is an achievement.
Cranius. A secret boss reached by exploration rather than mission select, on a route that starts in the Moldy Tundra; under 16% of players have the achievement. The launch notes flag it as not unlocking correctly at 1.0.
Ground Zero. A named encounter with its own achievement. Expect the same rules as every other big fight: strip weapons, break shell, then commit damage.
Overclocked enemies
Overclocked enemies carry volatile cores. Killing them up close is a mistake; the explosion is the attack. 1.0 significantly increased how much damage overclocked explosions do to other enemies, and increased it further at higher threat levels — which turned them from a hazard into a tool. Bait an overclocked enemy into a crowd, kill it from a distance, and let the core do the wave clear.
There is also an achievement for dying to one.
Cryo changes the fight entirely
Cryo does not just slow things down. A frozen target is locked in place, and freezing a specific part pacifies it — freeze the gun and the gun stops firing. When a frozen target takes enough damage it shatters, breaking free and taking heavy burst damage, and punching a frozen target usually shatters it instantly.
That gives you a combo that works on everything including the big enemies: freeze the weapon array, punch it, watch the part come off. Frozen players can still move, just slowly, so freezing yourself is survivable but freezing a teammate in a crowd is not a favour.
Practical targeting order
| Threat present | Shoot this first |
|---|---|
| Optical Jammer + anything | The jammer |
| Missilehead array | The array, then the body |
| Amalgamation / Abomination | Weapons and shields, then shells, then core |
| Overclocked enemy in a crowd | The core, from range |
| Hornets on a teammate | Melee or a shotgun, they die fast |
| Cryo exploder enemy | Before it reaches the group |
Last checked 2026-10-21 against the 1.0 announcement and patch notes, the Freeze & Fester update notes and the global achievement percentages.