Mycopunk Regions and Mission Types Explained
Each region has a fixed layout per biome, so learning a map is permanent progress. Gravity Farms and Moldy Tundra are the starter pair, Titan City is vertical, Flourishing Desert and Ice Floes punish poor positioning, the Swamp adds caves and pipelines, and X11-B on the moonlet is the 1.0 endgame region.
Mycopunk's map is a fungus-eaten planet with a handful of distinct regions, and each one has a fixed layout per biome. That single fact changes how you should play: a mission in Titan City is not a random arrangement of streets, it is the same streets with a different objective. Learning a region is permanent progress, and it is the fastest improvement available to a player who feels stuck.
The regions
| Region | Character | What it changes |
|---|---|---|
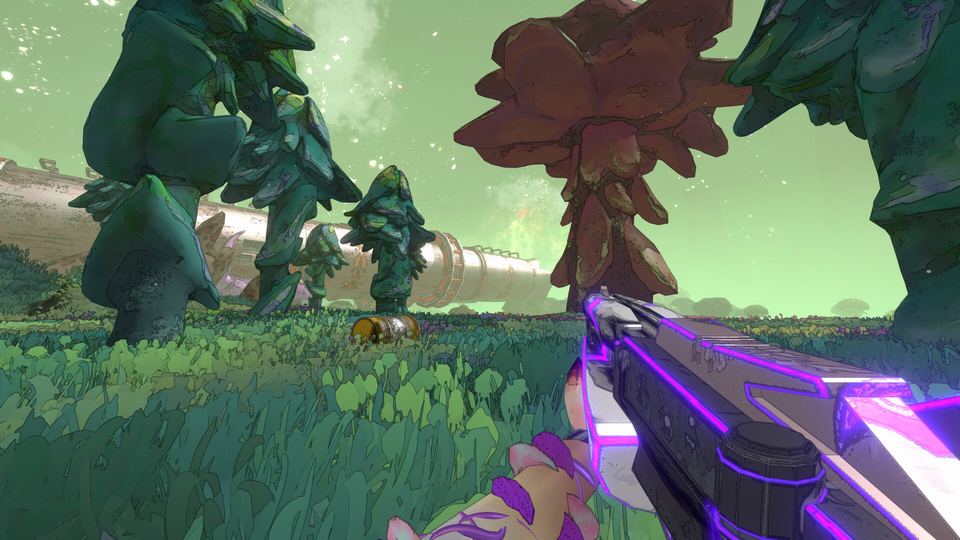
| Gravity Farms | Green, open, vertical agriculture | Romphus and Gussula spawns, lots of sightlines |
| Moldy Tundra | Cold, blue, industrial | Yeuco and Beezia, Cranius route starts here |
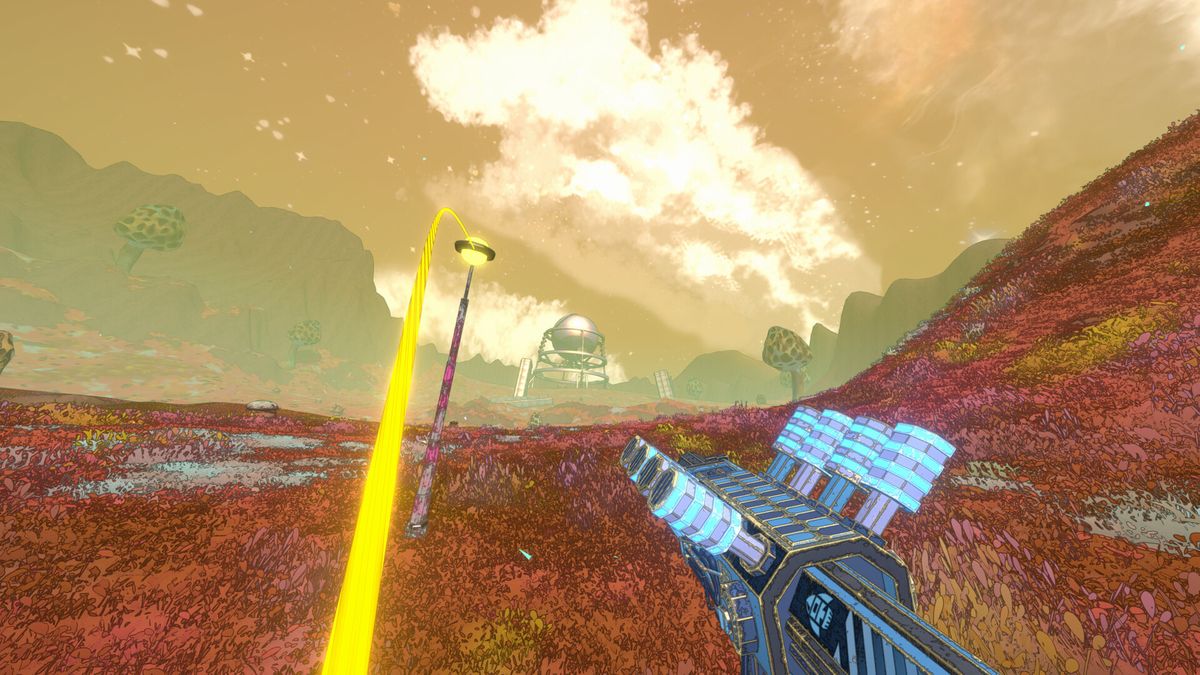
| Flourishing Desert | Hot, ochre, canyons | Gussula and Beezia, long approaches |
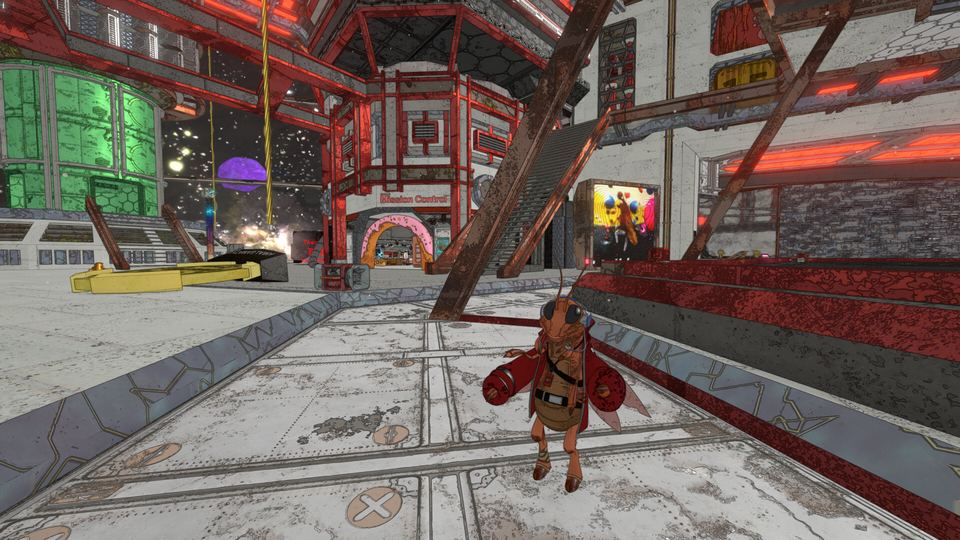
| Titan City | Dense urban, vertical | Romphus and Yeuco, tight interiors |
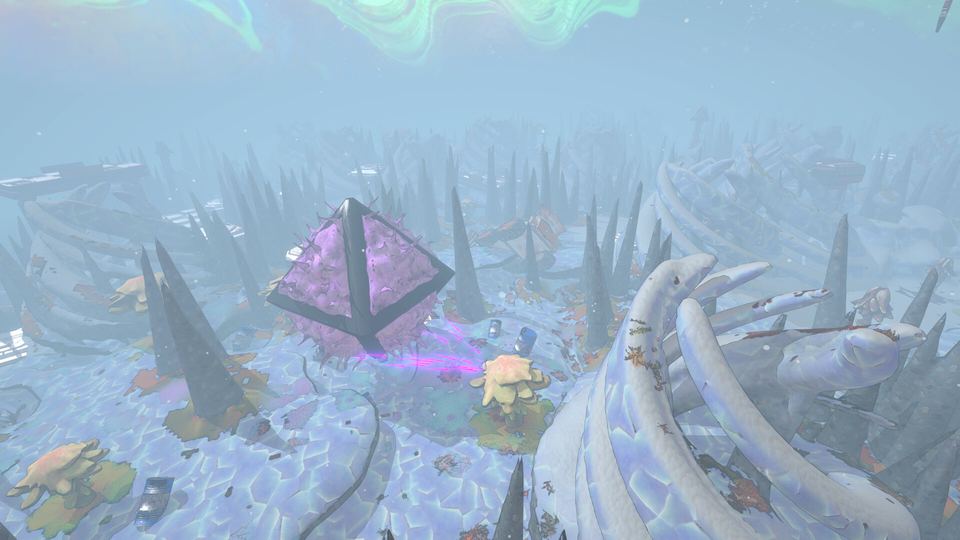
| Ice Floes | Frozen water and ice shelves | Cryo-flavoured encounters, slippery footing |
| The Swamp | Caves, pipelines, forest | Added in Freeze & Fester, ambush-heavy |
| X11-B | The moonlet, alien and hostile | The 1.0 endgame region |
| Incursion | A facility with floors | Floor-based push, floor 10 is an achievement |
| Ground Zero | A single named encounter | Its own achievement |
Two structural notes. First, the earlier regions are open and readable; the later ones (Swamp, X11-B) are built around ambush and enclosed space, which is why mobility upgrades matter more as you progress. Second, X11-B was designed explicitly to challenge players who had already spent a year in Early Access — the developers put it on its own moonlet so its mechanics and art could stand apart.
Mission types worth knowing
Standard missions — the bread and butter. A main objective, side objectives, extraction. Population Control, added in 1.0, is the purest version: clear areas of high enemy density, with Abominations turning up if you take too long.
Planetary Defense — hold-and-defend. In 1.0 the railgun begins rotating automatically once its batteries land, which removed a step that used to stall groups.
Paid Time Off — the objective-chaining mission type with its own pacing. 1.0 added more downtime after clearing large waves here, which tells you how the fight is structured: bursts of pressure, then a window.
Regulated Rampage — kill-heavy, and after you complete the main objective, enemy spawning returns to normal so you can breathe. Use that window to extract rather than to farm.
Amalgamation Hunt — the deliberate farm. Repeat completions always drop a Uniform skin and have an improved exotic chance.
Abomination Assault — added gating in 1.0, so it is not available immediately.
Overtime Assignment — a special assignment that unlocks the Shocklance. It can be played on threat 4.
Expedition Alpha — the rescue mission for the Mycologist. This is the one to prioritise if you want the new employee.
The Couch — a mini special assignment about retrieving a couch for the HUB, because this game knows exactly what it is.
Incursion — a facility run with floors. Reach floor 10 for the achievement. Vehicles cannot be requested inside, so bring what you need.
Ouroboros — the roguelike mode, with its own economy. It has a separate guide on this site.
How to read a mission before you drop
Three things decide whether a mission goes well, and all three are visible before you commit:
- Threat level. Enemy count, damage and elite frequency, not just health. If you are unsure, drop one tier.
- Modifiers. Optional and stacked. Four or more active modifiers is a different game; one modifier is a tuning knob.
- Objective type. A hold objective wants a Bruiser and area denial. A traversal objective wants mobility. A kill objective wants crowd clear.
Route knowledge beats damage
Because layouts are fixed, the highest-value thing to learn is where things spawn: drop pod spots, resource pods and which doors open into a full room are consistent per region. Knowing the Titan City ring structure beats better upgrades.
The concrete habit: on your first run in a region, ignore the side objectives and just walk the map. Look at where the vertical routes connect, where the objective rooms sit, and where the extraction pod lands. Ten minutes of that is worth more than ten missions of sprinting between waypoints.
Region-specific notes
Gravity Farms is the tutorial-adjacent region and the best place to learn the resource loop, because Gussula and Romphus both spawn here.
Titan City is the vertical map. If your employee cannot get up, you will spend the mission at ground level watching your team do the objective.
Ice Floes pairs cryo enemies with ice footing. The four cryo abilities — Ice Cube, Permafrost Wave, Splinter Virus and Ice Skates — spawn as an ice mound you have to find here or in the Swamp.
The Swamp is the ambush region: caves and pipelines mean close-range fights with no warning, so area weapons beat precision here.
Last checked 2026-10-21 against the 1.0 announcement, the Freeze & Fester update notes, the 1.0 patch notes and the global achievement list.