Mycopunk Resources: Where to Farm Every Crafting Material
Gats come from anything. Romphus grows out of enemies in Titan City and Gravity Farms. Gussula is an orange spore pod you melee twice. Beezia is a hexagonal container with a mini-game. Yeuco is a throwable radioactive bomb. Saxonite only rolls from threat 2 upward, and 1.0 raised the drop chance.
Mycopunk's crafting system runs on six materials, and five of them are tied to specific regions and specific harvesting tricks. Players lose hours to this because the game does not put it in one screen: each resource is a small environmental puzzle, and if you do not know the trick you walk straight past it.
The six materials
| Resource | Where it spawns | How to get it |
|---|---|---|
| Gats | Everywhere | Complete missions, kill things, play the game |
| Romphus | Titan City, Gravity Farms | Break the red plant growth attached to enemies |
| Gussula | Flourishing Desert, Gravity Farms | Melee the orange spore pod, then melee it again mid-jump |
| Beezia | Flourishing Desert, Moldy Tundra | Open the small hexagonal blue container and solve the mini-game |
| Yeuco | Titan City, Moldy Tundra | Throw the radioactive bomb at enemies, then break the exposed cores |
| Saxonite | Any mission, threat 2 and above | RNG mission reward, plus special objectives |
Romphus: shoot the growth, not the enemy
Romphus appears as red plant stalks growing out of enemies in Titan City and Gravity Farms. You do not harvest it after the kill — you break the part it is growing on, and the resource drops.
That means the correct play is to notice the infected enemy and target the growth specifically. If you kill the enemy with body damage, you often destroy the growth with it. Players who wonder why they never have Romphus are almost always shooting the wrong part.
Gussula: the double melee
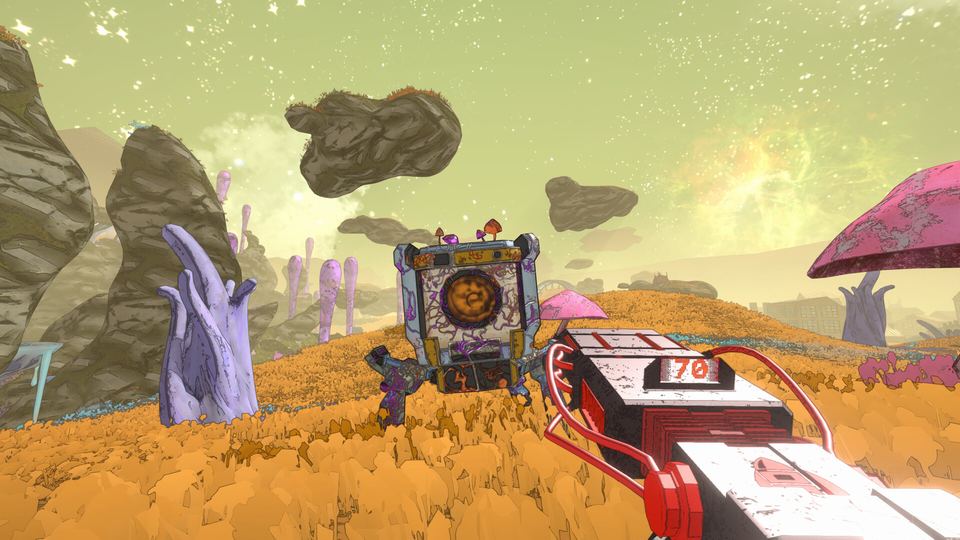
Gussula is the orange, roughly spherical "virus" plant found in Flourishing Desert and Gravity Farms. Hit it once with melee and it grows up on a stalk, out of reach. For a short window after it grows, you get an empowered jump — use it to reach the pod and hit it a second time, and the resource drops.
The default melee key is V. The window is short, so the habit is to melee and immediately jump rather than melee, look at it, and then react.
Beezia: blue hex pods
Beezia hides in small hexagonal blue containers on Flourishing Desert and Moldy Tundra. Press E on one and you get a short mini-game instead of a fight. The variants seen in game include clicking the red segments to turn them all green, and holding A or D to rotate a red part until it lines up with the notch in the centre circle.
They are not difficult, but they are timed and they happen mid-mission. Clear the room before you start one, because the mini-game locks you in place while enemies keep moving.
Yeuco: throw the bomb, break the cores
Yeuco is the yellow, faintly radioactive-looking sphere on Titan City and Moldy Tundra. It is a bomb, not a pickup. Hold E to pick it up, throw it into a group of enemies, and the blast marks their cores with radioactive residue. Break those cores and the resource drops.
The blast radius is small, so the value comes from hitting clusters. It is the one resource whose harvesting method is also a good combat opener.
Saxonite: the one you cannot farm on threat 1
Saxonite does not spawn in the world. It is an RNG reward for completing missions from threat level 2 upward, plus special objectives. Community-tracked rates from Early Access put it at roughly a few percent at threat 2, around 10% at threat 3, 25% at threat 4, and 50-60% at threat 5 and 6.
The 1.0 patch changed two things about it: it increased the chance of getting Saxonite from completing missions, and it made crafting undiscovered upgrades cost more normal resources and less Saxonite. Both changes push the same direction — Saxonite is now more available, and the painful Saxonite sink is discovery rather than duplicates.
What resources are actually for
Every upgrade has to be unlocked or crafted with resources. The order of operations that saves the most time:
- Unlock new upgrades rather than perfecting rolls you already own — discovery is the expensive step.
- Craft duplicates only for the two or three upgrades your build actually depends on.
- Spend elemental resources on the weapon you use most, not spread evenly.
If a resource is not dropping, check the region table above before assuming a bug. Romphus will never appear outside Titan City and Gravity Farms, and Saxonite will never appear below threat 2.
A harvesting routine that fits a mission
You do not need to detour. On the way to the objective:
- Shoot growths on enemies as you fight (Romphus).
- Melee any orange pod you pass, then jump (Gussula).
- Open blue hex containers only when the room is clear (Beezia).
- Carry a Yeuco into the next wave instead of at the end of the mission (Yeuco).
Run that routine for a handful of missions and you will have more crafting capacity than chasing one material at a time. The lost-loot terminal covers what you drop when you die.
Last checked 2026-10-21 against a Steam Community resource guide and the 1.0 patch notes on Saxonite and crafting costs.